
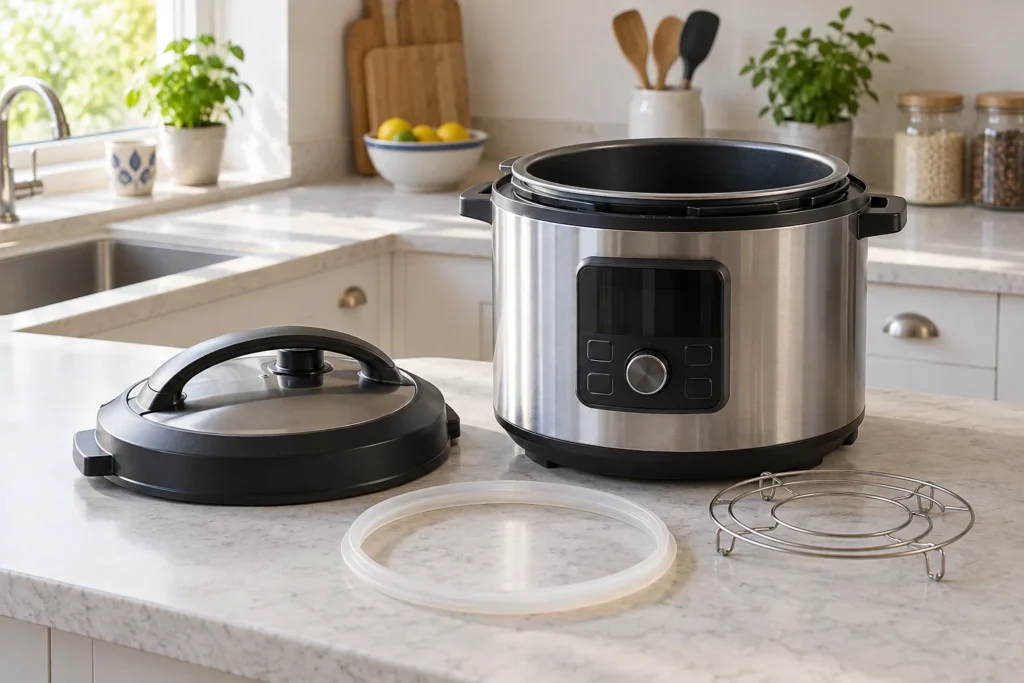
Pressure cooker valve cleaning should follow the manual for the exact lid. Similar-looking steam controls can contain different removable parts, and each safety component must be refitted correctly before pressure cooking. Work only when the cooker is fully depressurised, cool and disconnected where applicable.
Image: AI-generated editorial illustration of generic equipment; not a photograph of a reviewed product.
Table of Contents
Find the lid’s parts diagram
Locate the steam release assembly, pressure indicator, sealing ring and any protective shield in the manual. Do not assume that every visible fitting can be unscrewed. A pressure lid and an air-fryer lid on the same appliance can require entirely different care.
Print the relevant diagram or keep it open away from the sink. Set out a shallow tray for removable components, a suitable brush and the approved cleaning materials. Good light and an uncluttered surface make it easier to notice a tiny cap that could otherwise disappear down a drain.
Use a model-specific cleaning example
The Instant Pot Pro Crisp care instructions identify the steam-release pipe, anti-block shield, float valve and silicone cap. They specify removing particular components for cleaning and restoring them before use. Its anti-block shield is required for pressure cooking. Those instructions are not a dismantling guide for another lid.
Before removing anything, compare the diagram with what is actually on your cooker. If the parts do not match, stop and find the correct manual revision. Do not rely on a video where the presenter says all models are the same. A replacement lid may also need its own instructions.
Clean the permitted passages gently
Use only the tools and method specified. The objective is to remove food residue from the existing passage, not enlarge it. Never drill, scrape metal away or push an oversized object through a valve opening. Do not apply lubricants or chemical descalers to a safety mechanism without explicit approval.
Keep the electrical base away from the washing area and never immerse it. A lid containing electrical heating components must follow its own restricted method. Where rinsing is permitted, check that water and residue can drain out rather than being trapped in a recess before storage.
| Preparation step | Why it helps |
|---|---|
| Confirm no pressure and full cooling | Prevents working on a hot or pressurised assembly. |
| Match the exact diagram | Distinguishes removable cleaning parts from fixed fittings. |
| Use a parts tray | Keeps small caps and seals visible and accounted for. |
| Check passages as directed | Finds food residue without modifying the valve. |
| Verify complete reassembly | Prevents cooking with an omitted safety component. |
Reassemble one component at a time
Dry and inspect parts according to the instructions. Replace any damaged, distorted or missing item with the authorised component. Refit each part using the diagram, then count what remains on the tray. An unexplained spare cap or shield means the job is not finished.
Check the documented movement or seating of the pressure indicator only while cold and unpressurised. Do not push on a hot indicator to see whether it is stuck. If a fitting will not seat normally, do not increase force or trim a seal to make it fit. Ask support to identify the correct part and installation.
Do not confuse cleaning with repair
A clean-looking lid can still have a mechanical fault. Persistent abnormal leakage, a damaged rim or an indicator that does not behave as the manual describes needs manufacturer advice. User maintenance should not extend to adjusting springs, bending locking parts or disabling an interlock.
Describe the symptom and the cleaning already completed when contacting support. Include the model and the manual revision, but do not run a faulty pressure cycle merely to photograph the problem. If a test is required, follow the manufacturer’s instructions after the fault has been assessed.
Build a consistent after-cooking routine
Check the lid after each use at the intervals the manual recommends, particularly after foods that leave starchy residue. Let the appliance cool safely, then clean before storage so residue is not forgotten until the next meal. Keep the diagram and approved brush with the cooker. A short, repeatable inspection is more useful than an occasional aggressive clean that risks damaging a safety part.