
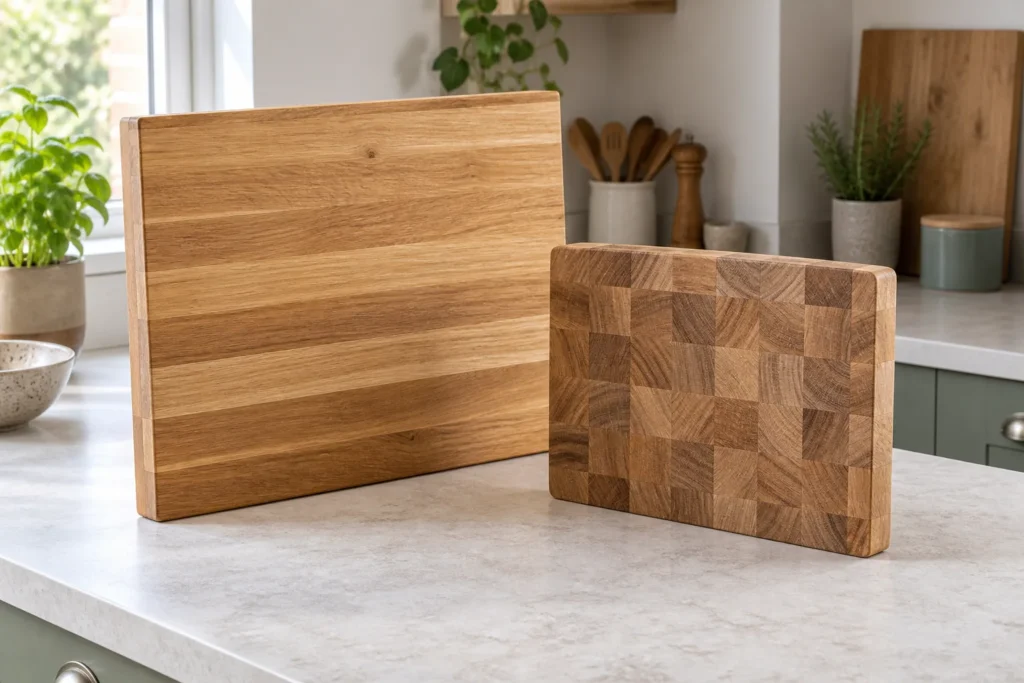
A wooden chopping board needs a cleaning routine that includes its underside and edges as well as the visible cutting face. Washing is only part of the task: you also need a suitable place to dry it before storage. Follow the maker’s instructions for the board’s construction and finish, rather than applying a general wood-care recipe.
Image: AI-generated editorial illustration of generic equipment; not a photograph of a reviewed product.
Table of Contents
Read the board’s own care information
Identify the manufacturer and material description, including any feet, glued sections or removable fittings. A serving board, a solid chopping board and a board with a decorative finish may have different intended uses and care requirements. Do not assume every wooden surface is interchangeable.
John Boos’ board-care FAQ directs owners to wash its boards with soapy water, dry them after cleaning and avoid soaking, submerging or dishwasher washing. Apply that guidance to the relevant boards and use your own manufacturer’s instructions where they differ. Surface treatments are a separate maintenance step, not a substitute for cleaning.
Make room before starting
Clear enough space beside the sink to manage the whole board without balancing it on a narrow edge. Have the permitted cleaning materials ready and identify where the board will dry. A large board can be awkward to handle once wet, so plan the movement rather than discovering that the drying area is occupied.
Remove the knife and other loose preparation tools first. Keep them in their own controlled cleaning routine. Washing a board should not involve moving an exposed blade around the sink or leaving it hidden underneath the board.
Clean all food-contact areas
Follow the maker’s washing method, including the groove or well if the board has one. Inspect corners, handle openings and the area around feet. Food can remain outside the central cutting rectangle, especially after transferring ingredients or carrying the board.
Do not use a knife point to scrape out a recess. Choose only cleaning tools and products suitable for the surface. If residue cannot be removed with the permitted method, ask the manufacturer for advice instead of escalating to a stronger chemical or abrasive mixture.
Give both faces a chance to dry
Use the drying position specified for the board and keep the necessary air space around it. Check the underside before returning it to a drawer or stacking another board against it. A top surface that looks dry does not tell you the condition beneath a foot or around a recessed handle.
Think about the kitchen’s daily sequence. If the board dries where breakfast dishes later accumulate, it may be moved into storage too soon simply to make room. Reserving a stable drying position can make the care routine easier to follow without adding another product.
| Area | After-washing check |
|---|---|
| Main face | No visible food residue remains |
| Grooves and handles | Accessible recesses have been cleaned |
| Underside and feet | Not overlooked during washing or drying |
| Edges and joints | No new damage requiring assessment |
| Storage position | Suitable for the board after drying is complete |
Give the board a dedicated drying position
Before the next wash, identify a drying position large enough for the board and separate from equipment that can drip onto it. Consider how you will turn or support it in line with its maker’s advice so that both faces receive attention. A narrow gap beside a fridge may store a dry board but make it difficult to check whether the underside is still damp. Keep washing, drying and final storage as three distinct positions if one spot cannot perform all three jobs conveniently. This is particularly useful when more than one person clears the kitchen.
Treat condition changes separately
If you notice splitting, distortion, rough damage or a loose fitting, stop treating it as an ordinary washing problem. Check the manufacturer’s repair or replacement guidance. Repeatedly applying a care product does not establish that a damaged board is suitable to keep using.
Keep cleaning and oil maintenance as separate entries in your household routine. The former removes residue after use; the latter follows the board’s finish-care instructions when required. Our general chopping-board guide covers the wider choice of boards. For one already in use, a complete washing and drying sequence is more useful than a collection of unsupported cleaning hacks.