
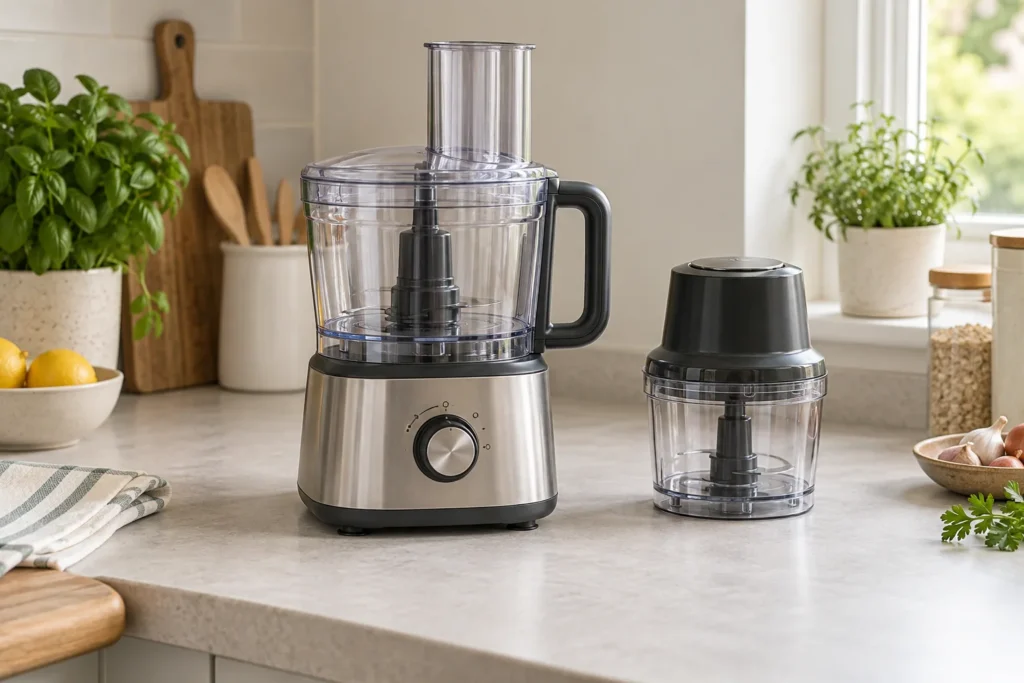
Shortcrust pastry needs brief mixing and a dough that holds together without becoming wet. A food processor can handle the butter-and-flour stage neatly, provided you stop to judge the mixture rather than leaving the motor running while you prepare the filling.
Image: AI-generated editorial illustration of generic equipment; not a photograph of a reviewed product.
Table of Contents
A published recipe to start with
The quantities and core method below are from Lulu Grimes’s basic shortcrust pastry for Good Food. This is an attributed recipe guide; we have not carried out a Best Kitchen UK test bake. Gather 250g plain flour, 125g cold diced butter, a pinch of salt and 1–3 tablespoons of milk or water. Choose a filling recipe separately: it determines the tin, pastry thickness and baking instructions.
Set up before adding the butter
Have the liquid measured, a clear work surface and wrapping ready before you start. A processor bowl is a mixing vessel, so its brim capacity does not establish how much pastry it can handle. Check the manual’s pastry or flour allowance and approved blade. If your batch exceeds it, make separate complete batches instead of forcing a double quantity through one bowl.
Keep the butter away from a warming oven while weighing the other ingredients. A useful way to organise a first attempt is to put the pastry ingredients on one tray and the filling ingredients on another. That reduces the chance of adding sugar, an egg or another ingredient from the filling to this unsweetened pastry by mistake.
Use the pulse control and check the crumbs
Following Grimes’s method, pulse the flour and cold butter to fine crumbs, then add the salt. Begin with one tablespoon of liquid, adding more gradually only as needed for the mixture to form dough. Gather it gently into a disc, wrap and refrigerate for at least 20 minutes.
Stop and disconnect the machine before removing its lid or inspecting near the blade. Look across the whole bowl, including the lower edge, rather than judging only the fine crumbs stuck higher up. If one area has collected liquid, scrape and redistribute safely before deciding that the entire batch needs more. You can always reassess a small addition; removing excess liquid is much harder.
Roll for the tin and the filling
Good Food’s rolling demonstration recommends light flouring, turning the pastry as it is rolled and lowering it into the tin without forcing it. If it becomes soft, return it to the fridge briefly. A small ball of spare pastry can help press the lining gently into the corners.
Set the empty tin beside the rolling area before starting. Remember that the sheet must cover the sides as well as the base; the base diameter alone is not the required pastry diameter. Lift and settle the pastry before trimming so that you can see whether the corners contain enough material. Save clean trimmings for small repairs rather than immediately rolling them into a second sheet.
| What you see | What to check before changing the recipe |
|---|---|
| Dry mixture that will not gather | Was the measured liquid added gradually and distributed through the crumbs? |
| Sticky patches beside dry crumbs | Has the bowl been scraped and the mixture redistributed safely? |
| A sheet that is hard to roll | Is it very cold, or being pressed aggressively instead of rolled gradually? |
| Soft pastry that clings to the surface | Is the workspace warm, and would a short chill help before more flour? |
Bake according to the finished dish
There is no single baking time for a ball of shortcrust. A shallow tart that needs blind baking, a filled quiche and a covered pie have different requirements. Follow the chosen dish’s oven temperature, lining and weight instructions, then its filling and final-bake checks. Do not assume that a golden exposed rim proves that the base or a raw filling is ready.
For your first batch, keep the flour, fat and liquid choice consistent and note what you actually used. Record the tin dimensions and filling recipe alongside the result. That gives a useful basis for a second attempt, whereas changing the butter, flour, tin and oven method together makes a problem much harder to explain.