
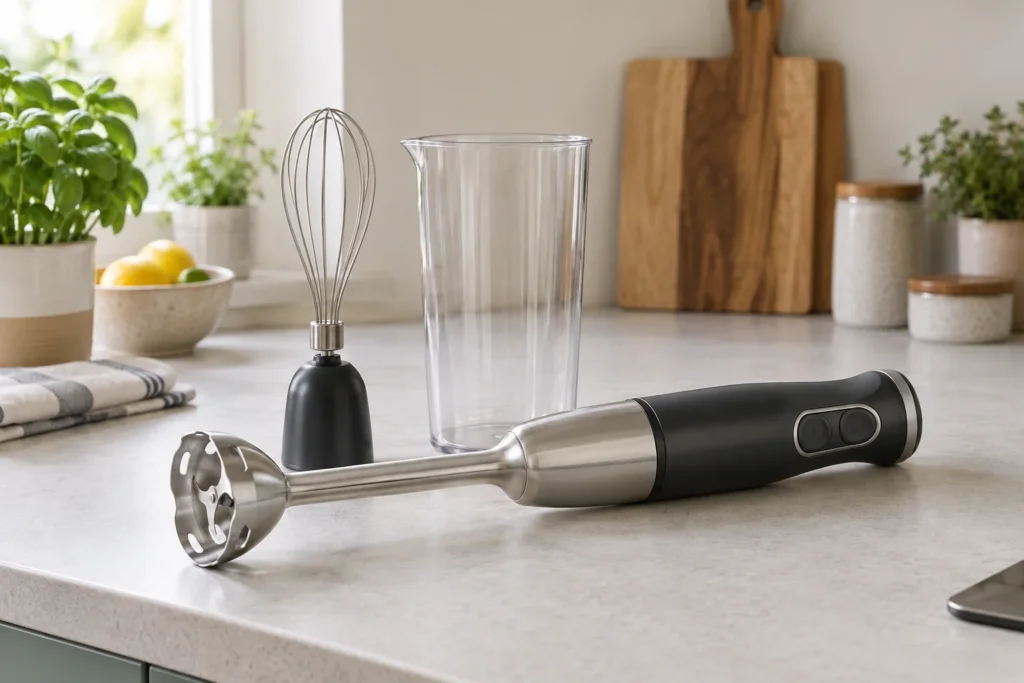
Use a hand blender in a non-stick pan only when the blender’s instructions and the cookware’s care guidance support that combination. A metal blending foot can contact the coating, and a guard is only useful when it is the correct part, fitted properly and kept in good condition.
Image: AI-generated editorial illustration of generic equipment; not a photograph of a reviewed product.
Table of Contents
Check the cookware and the attachment
Read the pan’s instructions for permitted utensils and electrical tools. Then read the hand blender instructions for blending directly in cookware. Do not assume that a general statement about metal utensils authorises every powered attachment, or that a blender’s advertising overrides a pan maker’s restrictions.
Inspect the pan under good light before deciding. If its coating is already damaged, using a guarded blender does not repair it or establish that it remains suitable. Follow the cookware maker’s advice about damage and replacement. Choose a separate approved blending vessel if you cannot confirm the combination.
Understand what a pan guard does
KitchenAid UK’s Go hand blender guide shows a removable guard fitted to the blending arm for use in a pan. The guard creates a protective contact surface around the foot; it is a model-specific accessory, not a universal sleeve for any hand blender.
Check that it is the correct part and locked in place as instructed before food is added. Do this with the appliance disconnected or its battery removed as directed. Inspect for trapped hard fragments, distortion or wear, and clean it after use. A guard containing grit or a broken clip is not the same as a clean, correctly fitted guard.
A whisk is a separate question
KitchenAid’s official cordless-whisk guidance warns that its stainless-steel whisk may mark non-stick coatings and should not be used in non-stick cookware. Approval for a guarded blending arm therefore does not extend automatically to the whisk attachment.
The same distinction applies to other tools supplied in a set. A chopping bowl, whisk and blending arm may share one motor body while having different vessels and handling rules. Identify the attachment you actually intend to use rather than referring to the whole kit as one blender.
| Situation | Practical decision |
|---|---|
| Both makers allow the combination | Fit the correct guard if required and follow their operating instructions. |
| Cookware instructions prohibit the tool | Transfer to a suitable vessel or choose another method. |
| Guard is missing or damaged | Obtain the correct replacement before relying on it. |
| You want to use a metal whisk | Check whisk-specific instructions independently. |
| The pan is too shallow for immersion | Use a suitably deep approved vessel instead. |
Check depth, heat and the work area
The food must be deep enough for the blending head to operate as instructed without splashing, while remaining below the maximum immersion point on the shaft. A wide shallow frying pan can be a poor fit even if the coating and tool are compatible. Do not tilt a hot pan precariously to create enough depth.
Follow the blender’s temperature rules and instructions about removing cookware from the heat. Set the pan on a stable heatproof surface, keep the cord away from burners and hot metal, and leave room to put the appliance down safely afterwards. A cordless model removes the cable but still needs battery and accidental-start precautions.
Keep the foot under control
Follow the manufacturer’s movement and speed guidance. Avoid using the blending foot to scrape stuck food from the base or levering it against the side of the pan. Stop before withdrawing the head from the mixture as your manual directs. Disconnect before clearing food from around the blade.
If the mixture is too shallow or thick to move, do not keep increasing force against the pan. Reassess the vessel and recipe instead. A ladle and a compatible separate jug may add a washing-up step but give a more suitable shape for the task. Remember that the supplied beaker can have a different heat allowance from the blending shaft.
Make direct-in-pan blending a checked convenience
For frequent soup making, keep the guard beside the matching shaft and the pan instructions with your appliance notes. That makes the approved combination easy to repeat. When replacing either the pan or the blender, check the combination again. A previous successful use is not evidence that a new coating or attachment has the same permissions.