
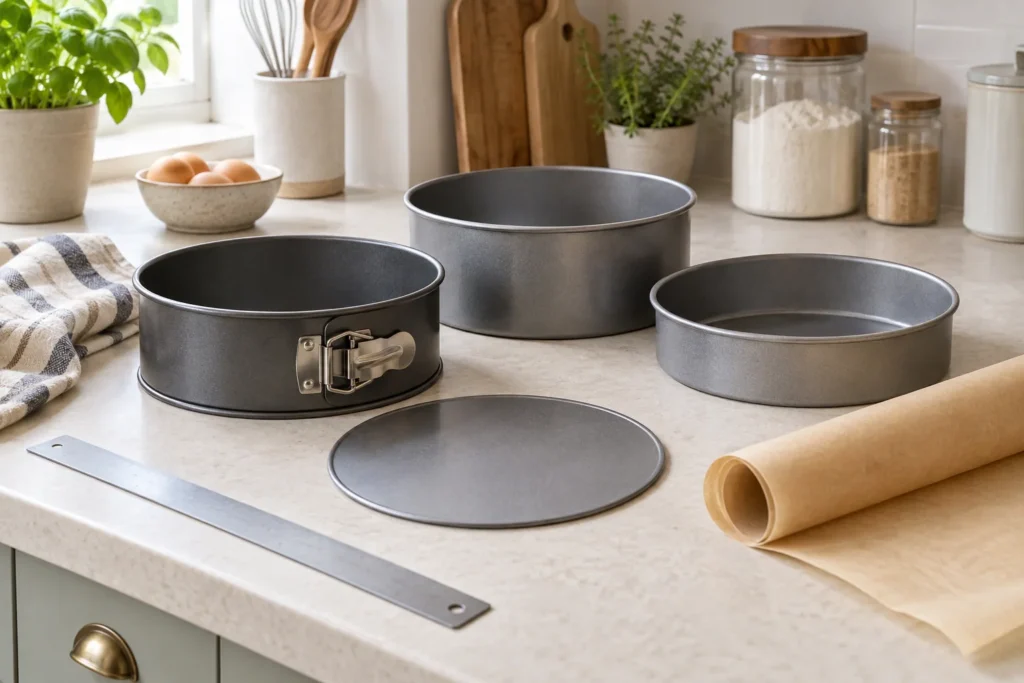
Line or grease a cake tin according to the recipe and the tin's instructions. Some recipes ask for a lined base, others for greasing and flouring, and some deliberately specify an ungreased tin. Read that sentence before cutting paper or reaching for a spray: preparation is part of the method, not a universal extra step.
Image: AI-generated editorial illustration of generic equipment; not a photograph of a reviewed product.
Table of Contents
Identify the job the lining must do
Separate three possible aims: covering the base, covering the sides and providing a way to lift the bake. A circle covering a round base does not line the wall. A strip around the wall does not create a secure lifting arrangement. A shaped Bundt tin requires access to its pattern rather than a flat liner that hides the details.
Wilton: preparing cake bakeware includes parchment circles and recipe-specific greasing among its preparation approaches. Use paper sold for the intended baking application and check its own heat and use instructions. Do not substitute an unidentified household paper because it happens to have a similar colour or feel.
Make a base liner that sits flat
Work with the empty, cool tin. For a removable round base, its outline can help you mark the required shape, provided you check the final paper against the inside of the assembled tin. Cut the paper on the worktop, away from the tin's surface. Return the base to its correct orientation before checking the fit.
For a fixed base, measure the internal diameter and make a paper circle to that size. Set it inside and look for a raised edge or wrinkle. Trim a little at a time if it is too large. A neat fit is easier to assess before any mixture is added, and it avoids mistaking an oversized paper disc for a problem with the recipe.
Add side lining only when required
Measure the inner wall and prepare the side strip to the recipe's specified height. If you need a small overlap to make the strip reach around the tin, position it deliberately and check that it does not bunch at the base. Follow the recipe for securing the paper; do not introduce staples, adhesive tape or unrelated craft materials into bakeware.
| Recipe wording | Prepare before mixing | Final check |
|---|---|---|
| Line the base | A fitted base circle or rectangle | Paper lies flat inside the tin |
| Line base and sides | Separate pieces or the specified liner | Corners and joins sit as intended |
| Grease and flour | The specified fat and dusting ingredient | Entire required surface is treated |
| Leave ungreased | The correct clean tin | No accidental release spray or liner added |
For a square or rectangular tin, trial-fit the paper folds while everything is dry. Decide where the corners will sit rather than forcing a sheet into position with the batter. If the recipe uses overhanging paper to lift the bake, keep to its arrangement and the paper manufacturer's oven guidance; unnecessary loose paper is not a handling improvement.
Apply the specified greasing method
If the recipe asks for greasing, identify the actual product it calls for. Butter, another fat and a proprietary baking-release spray are not interchangeable instructions. Check that the chosen product is permitted by the tin maker, particularly where a coating has its own restrictions.
For a grease-and-flour method, prepare all required interior areas and distribute the specified dusting ingredient as the recipe directs. Inspect corners and the junction between wall and base under good light. The aim is a completed, consistent preparation step; adding extra fat or flour without a reason is not a substitute for checking missed areas.
Finish the tin before starting the mixture
Put the prepared tin on the worktop and check its assembly, paper fit and oven space. Have the release and cooling instructions available too. This avoids discovering that a loose base is upside down or the wrong size after the mixture is ready to pour.
When a bake sticks, record the recipe, tin construction and preparation actually used before changing anything next time. That gives you a specific question to take back to the publisher or manufacturer. A different paper shape may solve a fit problem, but it cannot correct an unsuitable tin or establish a new cooking method on its own.