
The useful processor stage in a scone recipe may finish before the liquid goes in. Jane Hornby’s published yogurt scones use the machine for the dry ingredients and butter, then switch to a bowl. That clear handover is an easier rule to follow than trying to judge an entire sticky dough beside a spinning blade.
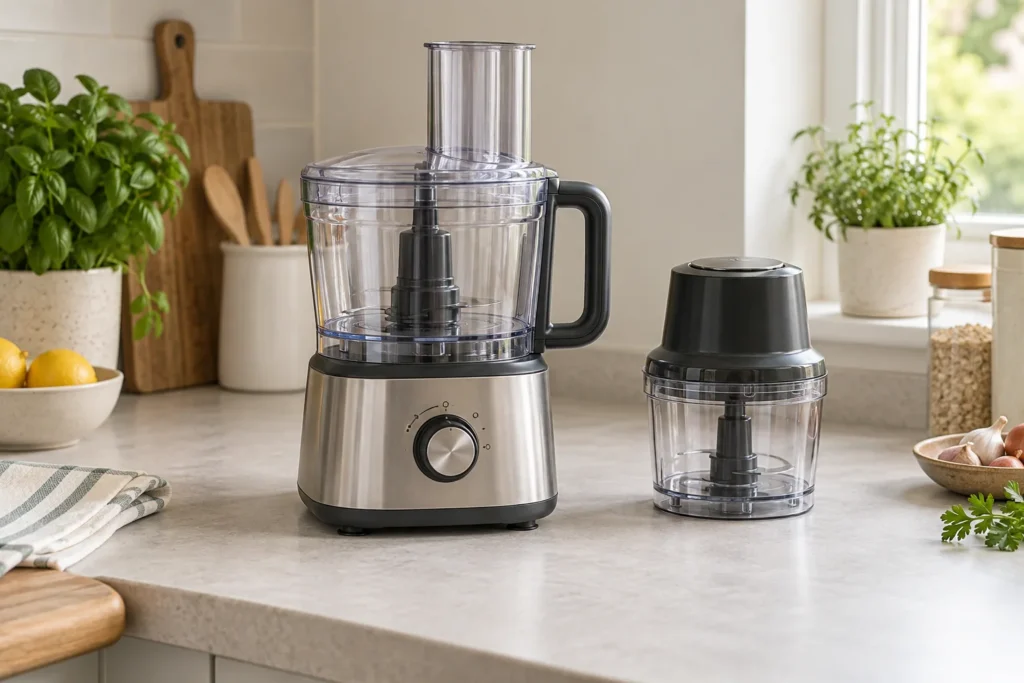
Image: AI-generated editorial illustration of generic equipment; not a photograph of a reviewed product.
Table of Contents
Start with a recipe that uses this method
The quantities and sequence here come from Jane Hornby’s easy fluffy scones for Good Food. The recipe makes nine, using a 7cm cutter. This article explains the workflow of that published recipe; it does not present a Best Kitchen UK test or guarantee a particular rise.
Set out a large mixing bowl, cutlery knife, cutter, baking sheet and oven gloves before starting. Confirm that the processor can handle the flour-and-butter quantity using its approved tool. The wet mixture will move to the mixing bowl, so choose one with room to bring the ingredients together without spilling flour over the rim.
Measure the ingredients
Use 350g self-raising flour plus dusting flour, ¼ teaspoon salt, 1 teaspoon baking powder, 85g cold cubed butter, 4 tablespoons golden caster sugar, 150g full-fat natural yogurt, 4 tablespoons full-fat milk and 1 teaspoon vanilla extract. For glazing, beat one egg with another tablespoon of milk.
Keep the glaze separate from the dough ingredients and label its bowl if somebody else is helping. Measure the yogurt by the stated weight, not by assuming that any pot on the shelf holds the same amount. Check that your flour is self-raising and that the raising agent is baking powder. Replacing both with guesses makes the first result difficult to interpret.
Finish the processor stage before adding liquid
Following Hornby’s sequence, combine the flour, salt and baking powder in the processor, work in the cold butter until it is incorporated, then pulse in the sugar. Transfer to the mixing bowl and make a central well.
Switch off and disconnect before removing the blade or scraping the bowl. Inspect the lower edges for unmixed flour as you empty it. Put the blade somewhere safe for cleaning so it is not hidden under a towel or inside a bowl somebody may reach into. The handover is also a useful pause to check that the milk and yogurt have both been measured.
Bring the dough together by hand
Warm the yogurt, milk and vanilla as the source directs, then combine them quickly with the dry mixture using a cutlery knife, stopping once incorporated. Turn out, fold briefly until reasonably smooth and press to about 4cm thick. Cut 7cm rounds, gently regrouping the remnants.
Measure the thickness of the first pressed dough before cutting. A much thinner sheet may produce more pieces, but those are no longer the same size as the source recipe. Set the rounds together on the work surface while organising the hot tray, with clear space for safe lifting. Avoid repeatedly rolling tiny remnants in pursuit of a perfectly smooth final round.
Bake with a prepared landing place
The source preheats the baking sheet at 220°C, or 200°C fan. Glaze the tops, lightly flour the hot sheet, place the rounds on it and bake for about 12 minutes until risen and golden.
Prepare a heatproof place for the tray before opening the oven. A hot sheet is part of this recipe, so do not put it on an unprotected worktop or balance it over an open drawer. Handle it with oven gloves, and keep the glaze bowl clear of the area used by cooked scones. The first time you make them, note your oven mode and where the tray sits.
| Checkpoint | What it helps you avoid |
|---|---|
| Before processing | Discovering too late that the bowl cannot handle the dry batch. |
| Before liquid | Accidentally continuing the entire dough in the processor. |
| Before cutting | Changing the size and thickness without noticing. |
| Before baking | Handling a hot tray with nowhere safe to put it. |
Judge your own result fairly
Let the scones cool enough to handle before splitting one. Record whether the centres are baked and how the crumb suits you, alongside the cutter and thickness actually used. Follow the original recipe’s guidance for keeping them if they are not eaten that day. Substitutions, a different cutter or a different mixing method deserve their own notes rather than being treated as the same attempt.