
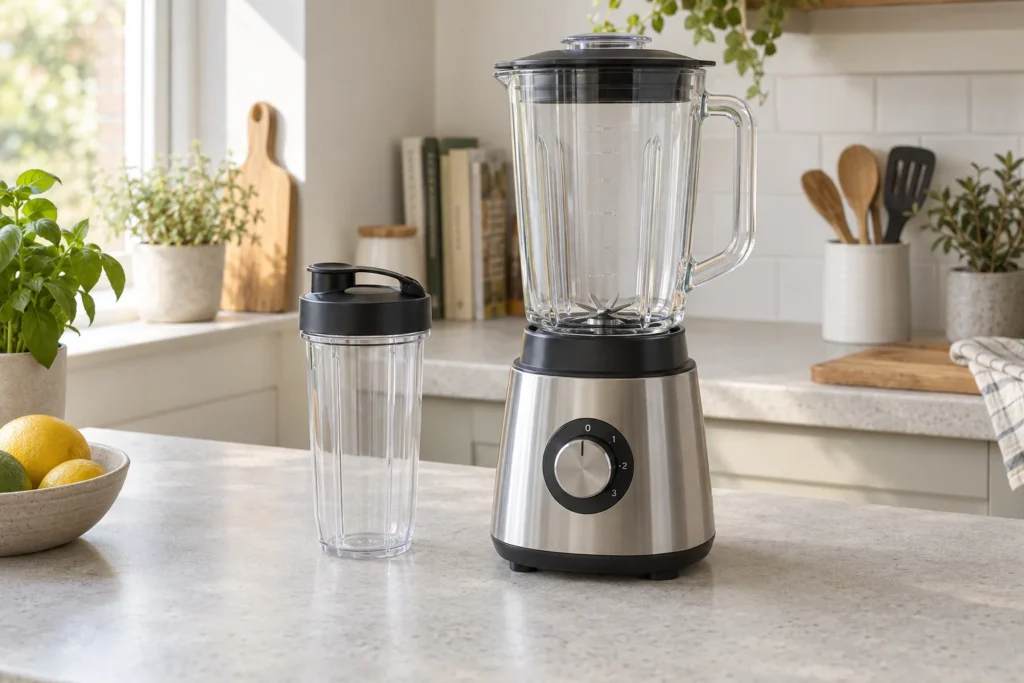
A replacement blender cup must match the appliance’s approved system, not just the visible thread or brand logo. Check the model on the motor base, the cup part number and the compatible blade assembly before ordering. A cup that screws on is not proof that it is safe to blend.
Image: AI-generated editorial illustration of generic equipment; not a photograph of a reviewed product.
Table of Contents
Identify what actually needs replacing
Disconnect the blender and inspect the accessible parts according to its manual. A cracked cup, damaged thread, missing tab or leaking blade assembly are different faults. Replacing the cup alone will not solve a problem in the blade housing or its seal. Do not run the machine to locate a leak while holding it over the sink.
Take clear photographs of the model label, old cup markings and the parts you need. Note whether the appliance is a personal blender, a jug blender with a cup accessory, or a portable unit with an integrated base. Keep the full letters and numbers: series names are often broader than the compatibility of individual components.
Use the official compatibility list
nutribullet’s UK 600/900 Tall Cup listing explicitly includes the 500, 600 and 900 Series. Its official accessories catalogue also separates other product families. This shows why the word “nutribullet” alone is insufficient when identifying a replacement.
Look for your exact model or a manufacturer statement mapping it to the listed series. If the list is ambiguous, ask support with the photographs rather than inferring compatibility from a seller’s title. Save the relevant listing or part number with the order so you can check the delivered item against it.
Check the assembly around the cup
Read whether the replacement includes a lid, lip ring or blade. A storage lid and a blending blade unit perform different jobs, even if they use the same opening. Reuse an existing component only where it remains undamaged and is explicitly compatible with the new cup.
Never transfer a seal between unrelated assemblies or add tape to make a thread fit. Some seals are integral to a blade assembly and should not be removed; follow the instructions rather than assuming every rubber ring is a separately serviceable part. A cup’s volume can also change the recipe allowance, so check its own fill marking.
| Detail to confirm | Where to find it |
|---|---|
| Exact machine model | Rating label on the disconnected base and original manual. |
| Approved cup or assembly | Official parts page or manufacturer support response. |
| Included components | Listing contents, not the product photograph alone. |
| Blade and lid compatibility | Named compatibility information for those parts. |
| Preparation and cleaning | Instructions supplied with the replacement and appliance. |
Inspect the delivered part before use
Compare the markings and stated part number with your order. Look for shipping damage, distorted threads and missing components without touching blade edges. Wash the parts as instructed before food use, then assemble them only by the documented method. Do not force a locking mechanism that does not engage normally.
If the replacement differs from the listing or your support confirmation, stop and contact the supplier. Do not treat a trial blend as a compatibility test. A wrong vessel may engage mechanically while still having an unsuitable shape, material or safety feature.
Decide whether a spare cup is useful
A spare approved cup can help when two people want different drinks or one cup is being cleaned. It does not increase the motor’s duty cycle or permit back-to-back heavy blends beyond the manual. Nor does an extra storage lid make every blended food suitable to keep for an arbitrary number of days.
Label household cups if several appliance systems look alike. Store their matching lids and blades in separate places or clearly marked containers, with sharp parts protected. Keep the maximum line visible rather than covering it with a decorative sticker.
Know when to ask for service
Persistent leakage, unusual noise, damaged drive parts or an overheating base may require appliance support instead of another cup. Provide the model and a concise description of the symptoms without dismantling the motor housing. A correct replacement is a way to restore an approved setup; it should not be used to bypass an interlock or keep a visibly damaged machine in operation.