
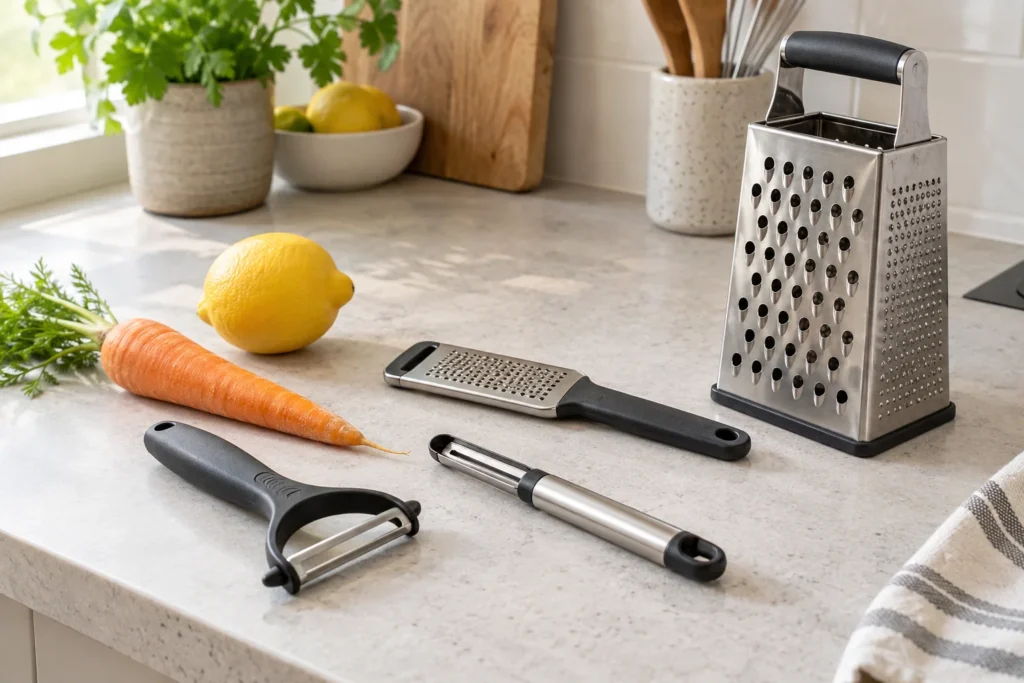
A vegetable peeler is small enough to disappear among washing-up, but its blade and mounting need deliberate attention. Keep it visible, follow the exact care instructions and inspect the narrow areas where food can remain. Cleaning should finish with drying and a suitable storage position, not a damp tool dropped into a crowded drawer.
Image: AI-generated editorial illustration of generic equipment; not a photograph of a reviewed product.
Table of Contents
Identify the blade and any removable parts
Check whether the peeler has a straight, serrated or julienne blade and whether it includes a cover. Look for a model code before assuming the blade cartridge detaches. A pivoting blade is not necessarily a replaceable blade, and a fixed mounting should not be forced apart.
Set any maker-approved removable parts in a clear tray so they remain identifiable. Read the reassembly instructions before cleaning, especially where a cover or cartridge has a particular orientation. Avoid starting with dismantling and only then looking for the manual.
Remove residue with the permitted method
OXO’s vegetable-tool care guide tells owners of its cited Y and Julienne peelers to remove residue, rinse, use the permitted dishwasher method and dry thoroughly. It also specifies closing the Julienne Peeler’s safety cover before storage. Apply those steps to the named models; another peeler may have different washing requirements.
Do not pull trapped peel from the cutting edge with your fingers or dig around it with a knife point. Use the cleaning tool and access method recommended by the manufacturer. If the design cannot be cleaned using its supported method, contact the maker rather than improvising a sharper implement.
Inspect the mounting and handle
Look at both ends of the blade, any pivot points and the connection to the handle. Check for visible residue or damage without touching the cutting edge. Include additional features such as an eye remover or scraping surface; they can be overlooked when attention is concentrated on the main blade.
For a tool with a soft handle coating, inspect the complete grip. A split, loose section or unexplained roughness needs the manufacturer’s condition guidance. Do not assume a change is harmless simply because the blade still appears to work.
Dry before covering the blade
Follow the model’s drying and cover sequence. Check accessible recesses around the mounting before enclosing them. Put the cover back in its intended position only when the care instructions say the tool is ready for storage.
If the cover is missing or damaged, find out whether a replacement is available for that exact model. Do not improvise a tight wrap that requires reaching against the edge to remove it later. A clear, appropriate storage location should make the tool easy to identify and retrieve.
| Area | Check after cleaning |
|---|---|
| Blade housing | No remaining food in accessible recesses |
| Mounting or pivot | No visible looseness or damage |
| Handle | Complete, clean grip surface |
| Secondary features | Cleaned and recognised as sharp where applicable |
| Cover | Correct part, intact and fitted as directed |
Notice where residue repeatedly collects
After a normal permitted wash, inspect the same few places each time: the blade mounting, the underside of the housing and any join between handle materials. If one recess repeatedly retains food, review whether the cleaning tool reaches it properly and whether the manufacturer describes a removable part you have overlooked. Do not create access by bending the blade housing or opening a fixed joint. A clear photograph and product number are useful when asking the maker for help. The repeated inspection should improve the cleaning routine without turning into an improvised repair.
Treat poor performance as a separate question
If the clean peeler no longer works as expected, check its intended produce and condition guidance. Do not test sharpness on skin or assume a kitchen-knife sharpener can be used on the blade. Ask about a supported replacement cartridge or replacement tool where necessary.
Make the routine easy to repeat by keeping the instructions and model details with your kitchen-equipment records. Our kitchen-gadget guide covers tool selection. For a peeler already in the drawer, the useful habit is a visible, complete cleaning and inspection sequence that respects the blade’s design.