
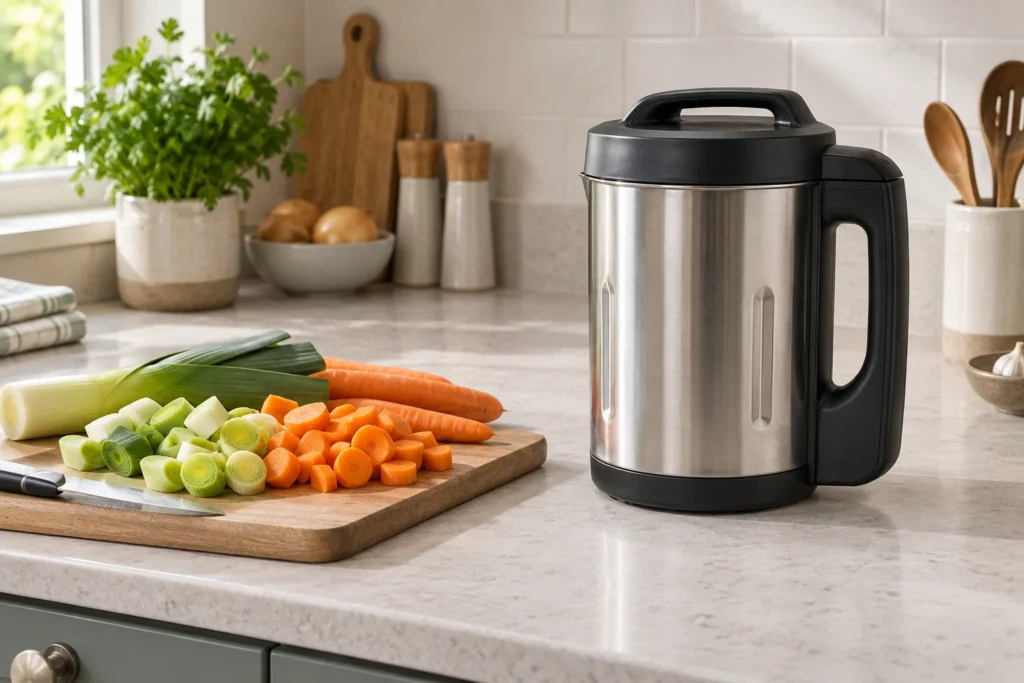
A soup maker can look like a kettle or blender while containing electrical connections in parts you would normally put in the sink. Before cleaning it, identify those connections and the surfaces the manual allows you to wet. That prevents a quick wash turning into a damaged appliance.
Image: AI-generated editorial illustration of generic equipment; not a photograph of a reviewed product.
Table of Contents
Separate food-contact surfaces from electrical parts
Switch off, unplug and allow the appliance to cool before manual cleaning. Take care when removing the lid: some models carry the motor and blade assembly there, while others have blades at the bottom of the jug. Keep sharp parts visible rather than hidden under washing-up water.
The Morphy Richards 501014 manual says neither its lid nor jug should be immersed, and warns against water reaching electrical connections. It also specifies hand cleaning rather than a dishwasher. These restrictions apply to that design, even though the inside holds soup.
Use the exact cleaning programme instructions
Automatic cleaning does not mean every cleaning liquid is suitable. The Salter EK5118 manual says its automatic cleaning setting uses warm water and specifically warns against adding soap during that cycle. It also says none of the appliance’s parts is dishwasher suitable. Read the procedure rather than borrowing another brand’s detergent recommendation.
Distinguish the powered cleaning cycle from manual washing. The permitted water level, water temperature, detergent and sequence may differ. After a cycle, switch off and unplug as instructed before inspecting or wiping anything. A rotating brush or cloth must never be introduced into a connected appliance.
| Area | Practical approach | Avoid |
|---|---|---|
| Electrical connector | Keep dry; follow manufacturer advice after a spill | Immersion or running water across the contacts |
| Inside the jug | Use approved manual cleaning or cleaning cycle | Assuming all jugs are dishwasher safe |
| Fixed blades | Use permitted brush with the appliance isolated | Fingers around hidden edges |
| Exterior and handle | Wipe as the instructions allow, then dry | Soaking the whole assembly |
| Coated heated surface | Use permitted soft tools | Metal scraping or unapproved abrasive cleaner |
Let residue soften without improvising a chemical soak
A cooked-on patch tempts you to scrape harder, but first check the manufacturer’s prescribed soak or cleaning method. A coating, seal and electrical assembly make this different from cleaning a plain stainless saucepan. Do not mix household cleaners or pour descaler into the jug unless the manufacturer specifically directs it.
Use enough light to see the base after washing. A clean-looking rim does not tell you whether food remains around a blade mount or heating surface. If an approved method cannot remove a deposit, ask support what to use next. That is more useful than escalating from a sponge to a knife. If the appliance also stops mid-cycle, our soup-maker cut-out checks explain which symptoms to record before contacting support.
Clean the lid where food actually reaches it
Soup can reach the underside of the lid, the shaft and the upper edge of the jug. Work through each accessible food-contact area the instructions identify. Only remove seals, covers or blades if the manual describes them as user-removable; a visible screw does not make a part a cleaning accessory.
Arrange cleaned parts where they cannot roll, fall or leave a sharp edge facing into your hand. Dry them thoroughly as directed before reassembly. If you discover a damaged seal, cracked part or liquid inside an electrical connection, stop using the appliance until the manufacturer has advised on repair or replacement.
Build cleaning into the end of the meal
A sensible routine is to serve the soup, deal with the food safely, then clean the cooled appliance before residue becomes a bigger job. Leave enough worktop space for the lid and jug rather than balancing them on other washing-up. Keep the cable away from the sink.
If you are choosing a replacement, look beyond a “self-clean” label in our soup-maker guide. Read which parts still need wiping, whether you can reach the base and how the connections are protected. The best cleaning arrangement is one you can carry out comfortably after an ordinary lunch.