
Using a whetstone starts with identifying two products: the knife and the stone. The correct preparation and sharpening method depend on both. A generic instruction to soak every stone or sharpen every blade at one angle can conflict with the equipment you own. Establish the supported process before putting the edge to the abrasive.
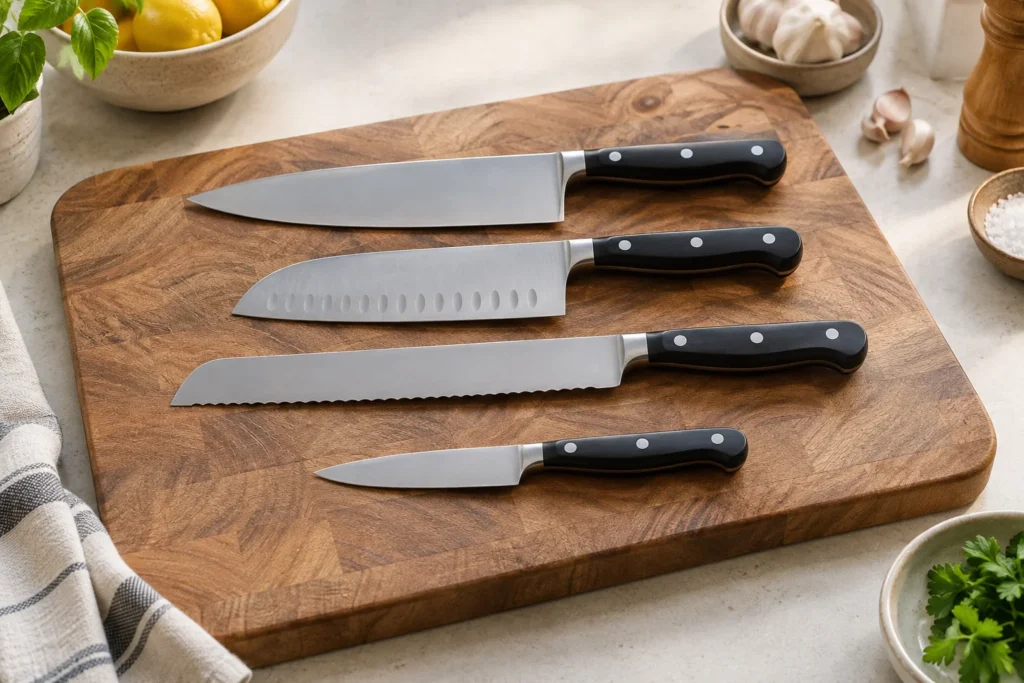
Image: AI-generated editorial illustration of generic equipment; not a photograph of a reviewed product.
Table of Contents
Identify the knife before choosing a stone
Record the exact model, blade material and bevel description. Check whether it has a straight or serrated edge and whether the maker specifies a particular sharpening route. A stone suitable for one double-bevel steel knife is not automatically the right tool for a ceramic, serrated or specialist single-bevel blade.
If the knife is damaged, distinguish that from routine edge maintenance. Chips, a bent tip or a loose handle need an assessment appropriate to the problem. Ask the manufacturer or an authorised sharpening specialist whether home sharpening is suitable before attempting to remove substantial material.
Read the stone’s preparation instructions
KAI’s care and sharpening instructions distinguish its diamond stones, which need wetting but no preliminary soaking, from specified ceramic-bonded stones that require soaking. It also gives different surface-maintenance instructions for those stone families. The important point is to follow the exact stone model, not transfer one preparation method to every whetstone.
Find the model code on the stone or packaging and save the relevant instructions. Establish which face to use, the permitted liquid, how the surface is prepared and how the stone is supported. If those details are missing, contact the maker before improvising.
Set up a controlled working area
Choose a clear surface with room for the full movement described in the instructions. Position the specified stone holder or support as directed. Arrange water, cleaning materials and the knife’s storage so you do not have to reach across the exposed blade for another item.
Read the complete method before beginning rather than discovering the next step while holding the knife. Keep the instructions visible at a comfortable distance. A video can help explain a maker’s demonstration, but it should match the actual stone and knife type rather than merely look similar.
Follow the knife’s geometry and the maker’s method
Use the supported angle, side sequence and stroke instructions for that knife. Do not choose a universal angle because it is frequently repeated online. A guide accessory also needs explicit compatibility with the blade and sharpening method; it is not automatically suitable for every knife height or bevel.
Work within the manufacturer’s process for checking progress. Avoid improvised sharpness tests against fingers or skin. If you cannot identify the intended edge geometry or control the described movement, a professional service is a reasonable ownership choice. Learning a skill does not require experimenting on an unsuitable blade.
| Before starting | Information required |
|---|---|
| Knife | Model, material, edge type and supported sharpening method |
| Stone | Model, abrasive faces and preparation requirements |
| Support | Approved holder or stable setup |
| Technique | Knife-specific geometry and maker’s sequence |
| Aftercare | Knife cleaning, stone maintenance and drying instructions |
Put the two instruction sets side by side
Before starting, make a small checklist with one column for the knife and one for the stone. The knife column should identify its permitted sharpening method and relevant geometry; the stone column should identify preparation, use and aftercare. A direction in one column does not fill a blank in the other. If the knife maker does not permit the stone method you selected, resolve that incompatibility before proceeding. Keeping both sets of instructions open also makes it easier to notice when an online demonstration uses a different blade or a stone requiring a different preparation step.
Finish with the equipment’s aftercare
Follow the knife’s cleaning instructions to remove sharpening residue, then dry and store it as directed. Clean and maintain the stone according to its own guidance. Do not assume a flattening tool or cleaning abrasive that suits one stone can be used on another construction.
Keep a brief record of the stone model and the method used so future maintenance begins with the same verified information. Our knife-set guide covers choosing a collection; for sharpening, the useful starting point is the precise blade and abrasive in front of you.