
For your first slow-cooker meal, choose a straightforward recipe written for the appliance type and a quantity that fits its instructions. Read the whole method before preparing ingredients. The useful routine is preparation, correct assembly, cooking, checking and finishing; simply putting everything in the pot does not answer every recipe’s needs.
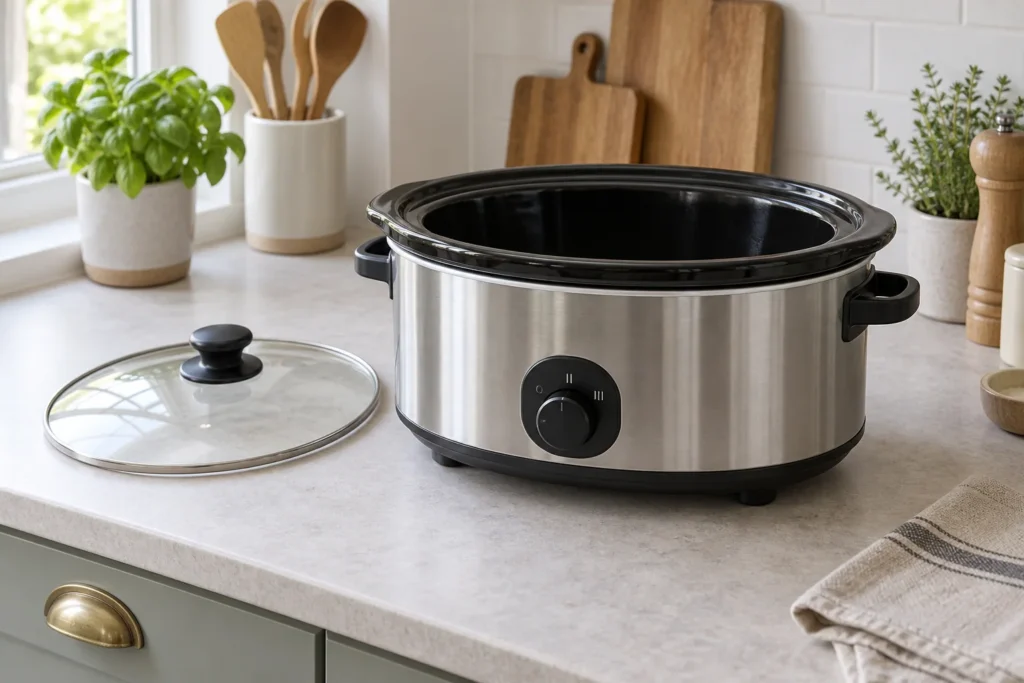
Image: AI-generated editorial illustration of generic equipment; not a photograph of a reviewed product.
Table of Contents
Choose a recipe you can follow from start to finish
Read the ingredient list alongside the method. Mark any browning, pre-cooking, thawing or late additions before beginning. A recipe with several finishing stages may still be worthwhile, but it is different from one that needs no attention during its main cooking period.
Use the stated ingredient quantities on the first attempt. Doubling a recipe changes the load and may exceed the cooker’s working limits. Halving it may also fall outside the recommended range. Choose a suitably sized recipe rather than treating the total litre figure as a target to fill.
Dumplings are a useful example of a finishing stage to plan in advance. Our slow-cooker dumpling timing guide explains the recipe-specific setting and timing checks to make before you start the main dish.
Prepare the workspace and ingredients
Set out the correct insert, lid and utensils on an uncluttered worktop. Check that the appliance is intact and that its base is dry before assembly. Identify a safe place for the hot lid and a heat-resistant surface for any removable pot that will need to be set down.
Prepare ingredients using appropriate food hygiene and the recipe’s directions. Keep raw ingredients and ready-to-eat foods separated. Do not copy outdated advice to wash raw poultry from an old cookbook or appliance leaflet. Dried beans also need their own preparation instructions; a generic slow-cooking method is not a substitute for those requirements.
| Before starting | During the programme | Before serving |
|---|---|---|
| Check quantity, ingredient preparation and the chosen setting. | Confirm that cooking has actually started. | Check the particular food for safe doneness. |
| Fit the correct pot and lid within the model’s fill instructions. | Follow any specified additions or changes. | Complete sauce or texture adjustments. |
| Read the complete recipe, including its finishing steps. | Keep track of interruptions rather than ignoring them. | Plan how any leftovers will be cooled and stored. |
Load and start deliberately
Follow your recipe’s arrangement of ingredients and liquid. Ensure that everything fits without forcing the lid down or exceeding the appliance’s limits. Select the specified cooking programme and time, then perform any confirmation step required by the controls. A lit display can indicate standby rather than active cooking.
Avoid combining instructions from several different recipes on your first use. A browning method from one dish, liquid quantity from another and timing from a third do not become a tested method when assembled. Make the supported recipe once and record a useful observation before adapting it.
Check the food, not just the clock
A completed timer is a prompt to assess the meal. The Food Standards Agency gives 70°C for two minutes, or an equivalent combination, for thorough cooking. Check the food appropriately; a timer does not measure its centre.
Check texture separately. A carrot may still be firmer than you prefer even when other ingredients are done, and a sauce may need a finishing step. Follow the recipe’s supported adjustment rather than repeatedly extending cooking without identifying the actual issue.
Finish with serving and a useful note
Arrange bowls and utensils before lifting the lid. Handle hot components as the manual directs and keep steam away from your face and hands. If the recipe includes a separate finishing method, use cookware and appliance functions approved for it; a removable insert is not automatically hob-safe.
After the meal, record the model, recipe quantity, setting and one specific result worth remembering. This creates a practical record for the next cook without claiming that the timing applies to every dish. Finish by following food-specific leftover guidance and the appliance’s cleaning instructions, so the cooker is ready for the next meal.
For an evening meal, work backwards from when you want to serve and identify the last point at which somebody will be available to check it. Keep that check in the plan even when the cooker changes automatically to another mode. An automatic transition can help organise the day, but it cannot decide whether the particular meal is ready to eat.