
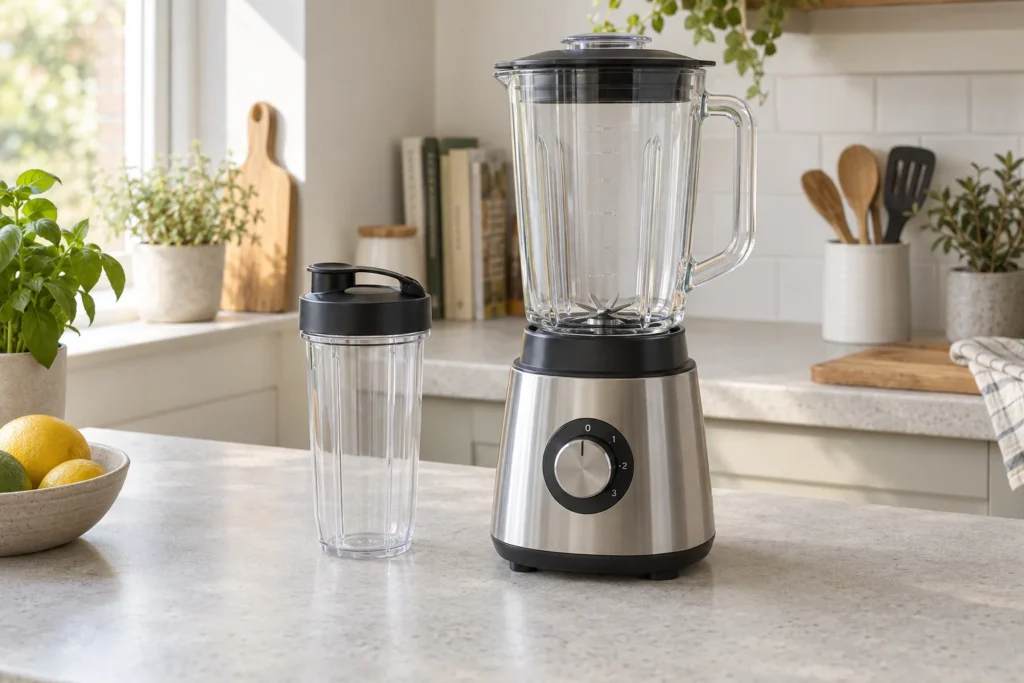
Clean a blender by following the instructions for each component, rather than treating the whole appliance as one dishwasher-safe item. The jug, lid, cap, blade assembly and motor base can have different rules. Start promptly after use, while remembering that sharp blades remain sharp when the machine is off.
Image: AI-generated editorial illustration of generic equipment; not a photograph of a reviewed product.
Table of Contents
Identify the parts before washing
Switch off, disconnect and wait for all movement to stop before disassembly. For a portable or cordless appliance, follow its specific power-isolation instructions. Read which parts may be removed: an integrated blade or seal should not be dismantled merely because it looks as though it might unscrew.
Clear a place for the parts so the blade is never hidden under washing-up water or a tea towel. Keep small lid caps where they cannot roll towards the sink drain. Photograph the correct assembly while clean if you regularly forget how a permitted removable part goes back together.
Use the model’s cleaning cycle correctly
The Sage SBL620 care section describes rinsing away most residue, using 500ml warm water with AUTO CLEAN and adding a few drops of washing-up liquid for sticky mixtures. It then calls for rinsing and further washing as needed. The cycle loosens residue; it does not inspect the lid or make every component clean.
Use only the amount, temperature and cleaner stated by your manual. A cleaning programme is not permission to use boiling water or a strong chemical cleaner. Secure the lid exactly as required before a powered cleaning cycle, and disconnect again before removing or brushing parts.
Check the hidden food-contact areas
Look underneath the lid rim, around the pouring lip and in accessible seal channels. Thick smoothies and nut mixtures may remain where the main water swirl does not reach. Use the approved soft brush or cloth, keeping hands clear of blade edges. Do not use a metal implement to prise residue from a seal.
If the manual permits soaking a removable jug or lid, follow its duration and temperature guidance. Do not extend that permission to a heated jug with electrical connections or to the motor base. An immersion-blender shaft can also have a maximum washing depth that differs from its food-immersion depth.
| Part | What to check |
|---|---|
| Jug | Whether it can be soaked or dishwashed, and whether it contains electrical parts. |
| Lid and cap | Underside grooves, permitted washing method and complete drying. |
| Blade assembly | Whether it is removable and how to clean without touching the edges. |
| Seal | Whether removal is allowed; inspect for damage without stretching it. |
| Motor base | Disconnect, wipe as directed and keep liquid away from electrical openings. |
Resolve conflicting dishwasher information conservatively
If the manual’s quick-start page and care section appear to disagree, hand-wash permitted removable parts and ask the manufacturer to clarify. Do not select the more convenient sentence and ignore the other. Keep the exact model and manual revision in the question, since a revised jug can have different instructions.
Arrange approved dishwasher parts so they cannot fall onto a heating element or be struck by other items. Remove food residue first as directed and follow any rack-position restriction. Check that a lid has retained its shape and that seals sit correctly before reassembly.
Dry before closing the lid
Rinse away cleaning liquid and allow the parts to dry using the manufacturer’s method. Inspect crevices rather than drying only the visible outside. A sealed wet jug may retain odours and makes it harder to tell whether an earlier wash left food behind. Store components with ventilation where the instructions permit it.
Do not use an abrasive pad to remove cloudiness or assume every mark is food staining. Cracks, chips, leakage and a damaged seal require different action from a removable stain. If the jug remains dirty in an inaccessible food-contact area, obtain support or replace the approved assembly instead of ignoring it.
Make the next clean easier
Keep the correct brush and matching lid with the appliance. If you routinely leave a sticky blend until later, build rinsing into the moment you pour the drink or sauce out. That practical habit may matter more than an extra programme on the control panel. Clean between incompatible ingredients or allergen needs according to the relevant food-safety requirements; a quick swirl should not be presented as validated allergen removal.