
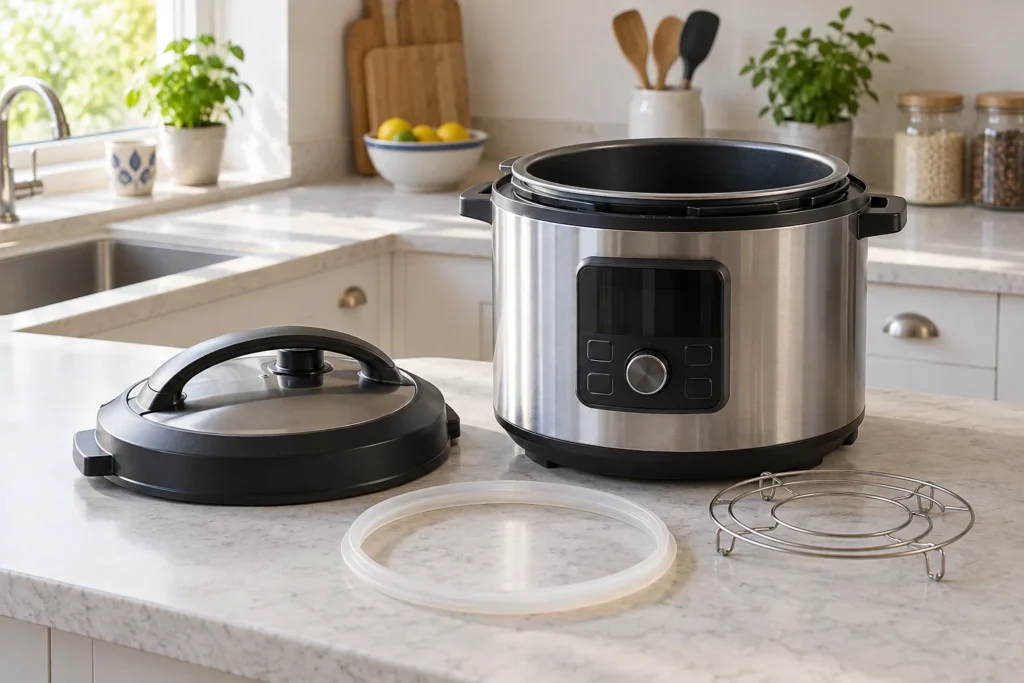
Natural release lets a pressure cooker lose pressure as it cools. Quick release uses the appliance’s approved control to vent steam sooner. The choice belongs to the recipe and the cooker’s instructions: changing it can affect both the food and the way hot contents behave.
Image: AI-generated editorial illustration of generic equipment; not a photograph of a reviewed product.
Table of Contents
Understand the three common descriptions
Natural release leaves the cooker to depressurise without actively venting through the release control. Quick release actively vents according to the manufacturer’s procedure. A timed natural release waits for a specified period before an approved release of the remaining pressure. Read a recipe’s abbreviations before starting so you are not decoding them over a hot cooker.
A timer reaching zero tells you that a cooking stage has ended. It does not prove the lid is safe to open. Keep the pressure indicator in view and use the model’s opening criteria. Do not substitute a quiet valve or the absence of visible steam for those criteria.
Give food type priority over speed
The Instant Pot Pro Crisp UK manual requires natural release for high-starch and expanding foods and warns against quick release for those loads. It also explains that food continues cooking during natural release. Follow the exact model’s restrictions even if an unrelated recipe suggests a faster finish.
A recipe that relies on that continued cooking is not equivalent when the pressure is immediately released. Conversely, a delicate food may be written around a permitted quick release to limit further cooking. Choose a recipe designed for your appliance and its release method rather than adjusting only the pressure-stage minutes.
Plan the steam path before cooking
Place the appliance on the surface specified by its manufacturer, with the required space around and above it. Keep the release area clear of your face, hands, sleeves and other people. Do not cover a vent with a cloth or add an unapproved steam diverter to protect a cupboard. Move the setup before cooking if the location is unsuitable.
Learn the control position while the cooker is cold. Some designs use a remote switch; others place the control nearer the vent. A handle that looks familiar may operate differently on another model. Follow the manual’s illustration rather than a remembered movement from an older cooker.
| Recipe wording | What to confirm before starting |
|---|---|
| Natural release | The required control position and safe-opening indication. |
| Quick release | That this food and load permit it, and how to operate the exact control. |
| Timed natural release | The waiting period, then the permitted way to release any remaining pressure. |
| Release not specified | Find the appliance-compatible recipe guidance before cooking. |
Never use force to shorten the wait
Do not twist harder, pry the lid, press down an indicator or loosen a valve to make the cooker open. If it is still locked, treat it as potentially pressurised and follow the fault guidance. The meal can wait while you contact support. An improvised opening attempt risks hot liquid and steam escaping.
A release technique approved for a particular hob cooker should not be transferred to an electric model. In particular, do not put an electrical cooker under running water to accelerate cooling. Use only the methods listed for that appliance and recipe.
Respond cautiously to sputtering
Keep clear if hot liquid or foam appears at the release point. Follow the manual’s safe response for that exact situation, without reaching through the steam or placing a cloth over the vent. Do not continue venting simply because the recipe used the word quick.
After the cooker is safely depressurised and cooled, review the load, applicable fill line and recipe. Check user-cleanable pressure components as instructed before the next use. If you cannot identify the cause or the appliance behaves abnormally, ask the manufacturer rather than repeating the same setup.
Include release time in meal planning
Write the complete sequence next to the recipe: preparation, pressurising, pressure stage, release and finishing. Natural release duration varies with the load and temperature, so leave room in the schedule rather than promising an exact serving time from the countdown alone. Once a particular recipe works safely in your cooker, record the method used so you can repeat it consistently.